Technique · Equipment

Rigging the ILCA Step-by-Step

7′ read
Rigging the ILCA Step-by-Step

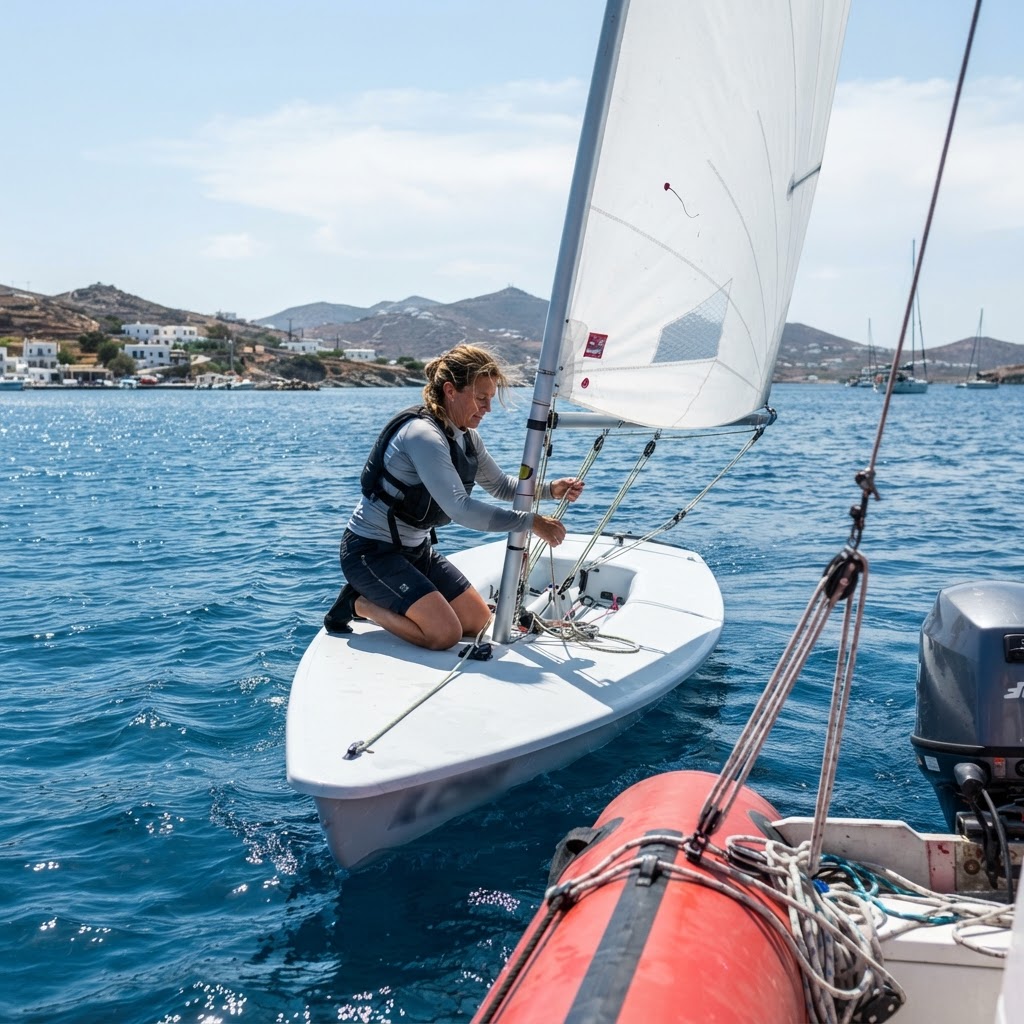
Introduction to the ILCA: The Art of Preparation at NOAS ## The ILCA, formerly known as the Laser, is the cornerstone of dinghy sailing worldwide. At the Nautical Club of Artemida Spata (NOAS), we see our athletes mastering the waves of the South Euboic Gulf every day, learning that success is determined not only on the water but also by how well the boat is prepared before it leaves the beach. Proper rigging is a ritual that connects the athlete to their boat. ## Key Equipment Parts and Their Significance ## To begin, we must understand the structural components of the ILCA: the hull, the sail, the mast (divided into lower section, upper section, and gooseneck), and the boom. The choice of rig—ILCA 4, 6, or 7—determines the sail area, but the rigging process remains a cohesive technique. In the waters of Artemida, where winds often present particular challenges, proper equipment tuning is crucial for safety and performance. ## Step 1: Stepping the Mast and Hoisting the Sail ## The process begins by placing the lower mast section into the hull's mast step. Then, we slide the sail onto the mast sleeve. It is critical that the sail enters smoothly to avoid damage. Once the sail is fitted, we proceed to connect the top section and attach the boom to the lower mast. Ensure the safety pin is in place. ## Step 2: Adjusting the Control Lines ## This is where theory meets practice. The ILCA has three main control systems that an athlete must know: the cunningham, the vang, and the outhaul. 1. The Cunningham adjusts the luff tension and the shape of the sail. 2. The Vang controls the height of the boom and the twist of the sail, essential for boat control in different wind strengths. 3. The Outhaul adjusts the foot of the sail, providing depth or flatness depending on the conditions. ## Step 3: Ropes and the Control System ## Before launching, we check the ropes (main sheet, traveller, cunningham, vang, outhaul) to ensure there are no tangles. At NOAS, we teach our athletes to double-check the ends of the ropes, as the weather in the South Euboic Gulf can change quickly. A wrong move with the ropes during a race can cost valuable seconds. ## The Importance of Maintenance and Inspection ## Rigging does not end on the water. After every training session, rinsing with fresh water is mandatory to protect against salt corrosion. Inspect the blocks and ropes for signs of wear. Taking care of your equipment is a sign of respect toward the club and yourself as a sailor. ## Conclusions and Invitation to NOAS ## Rigging the ILCA is a skill that evolves over time. With the guidance of our experienced coaches at NOAS, every athlete, from beginner to advanced, can perfect their technique. Whether you are new to sailing or looking for an environment to develop your skills in the ILCA 4, 6, or 7, the Nautical Club of Artemida Spata awaits you. Come experience life on the sea and join our team. Contact our secretariat to book an introductory session and learn about the training programs we offer.

Frequently Asked Questions

How long does it take to rig an ILCA?

A trained athlete needs about 10-15 minutes. For beginners, the time may be double until they become familiar with the ropes.

Which adjustments are the most important in an ILCA?

The vang, outhaul, and cunningham are crucial for the aerodynamics of the sail and controlling the boat in different wind intensities.

Should I rinse the boat after every use?

Yes, rinsing with fresh water is essential to avoid corrosion on metal parts and damage to the ropes from salt.

How can I learn to rig the ILCA correctly at NOAS?

You can enroll in our club's training programs, where our experienced coaches will guide you through every stage of the process.

Related Articles

Ready to start sailing?

Join NOAS Sailing Club at Limeniskos Artemidas (Artemida small harbour) — lessons for all ages and levels.